Using Rich Text Editor
Table of contents:Summary
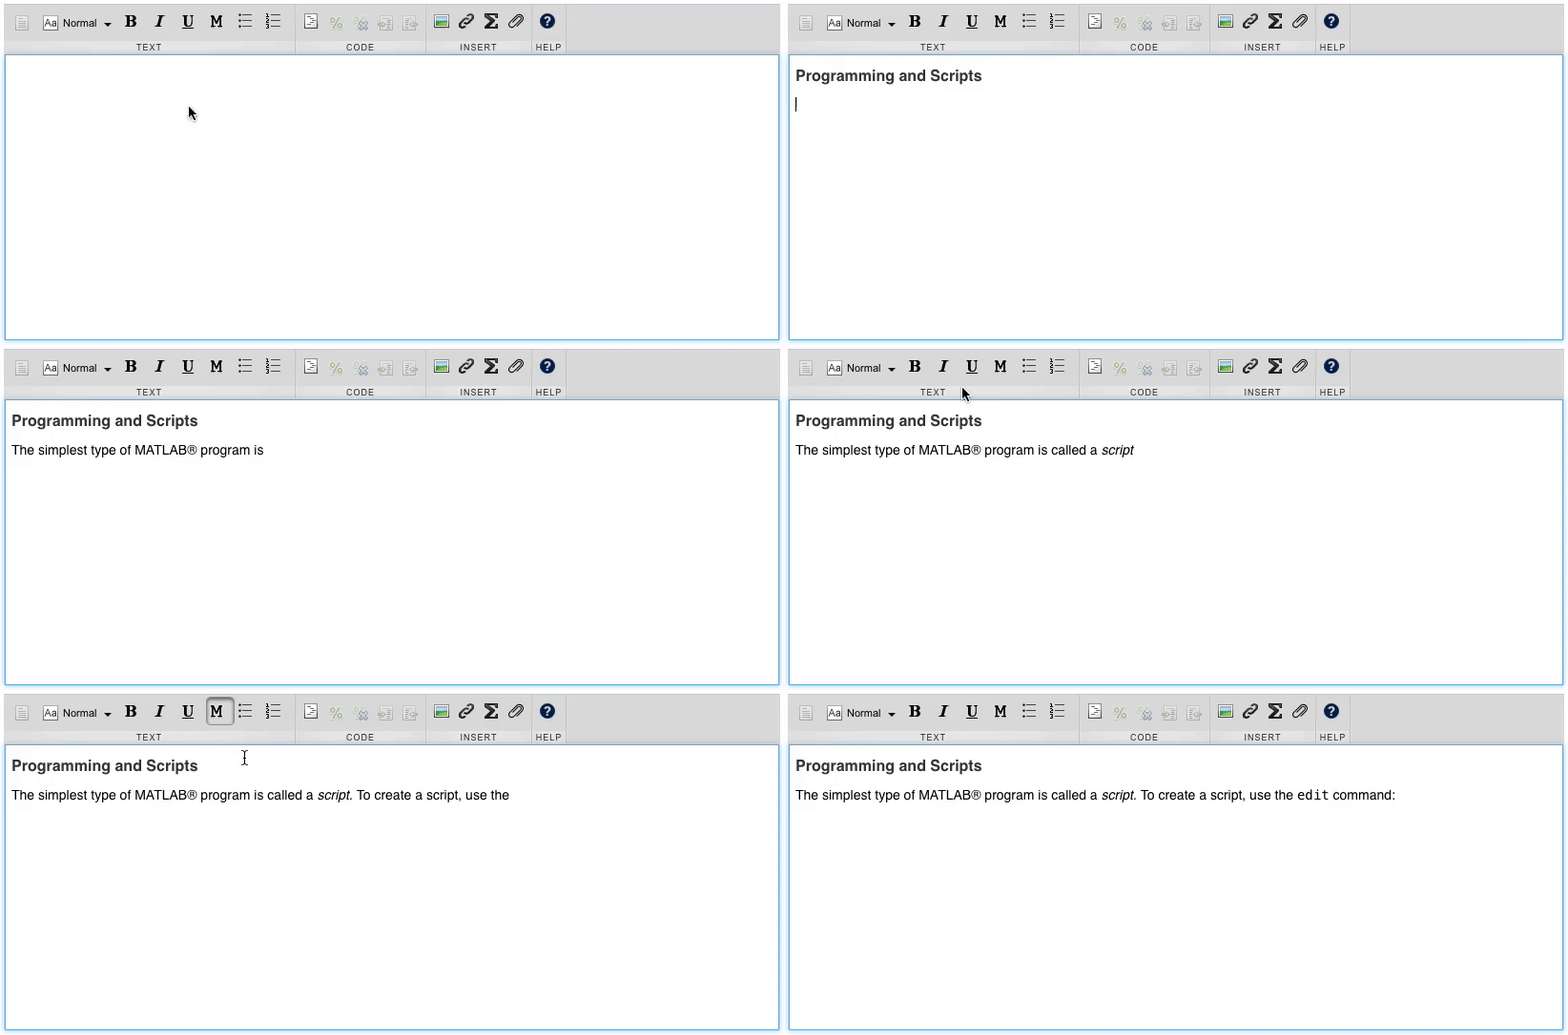
Use rich editor to enhance your content display with the addition of rich text formatting, hyperlinks, images, and attachments. For your MATLAB code, you can include MATLAB syntax highlighting and LaTeX equations.
Toolbar Commands

| Option | Description |
|---|---|
 Text toggle Text toggle
| Enables text mode (switches to text mode if you are in code mode).
Note: Text mode is active by default. |
 Normal text Normal text
| Enables normal text. |
 Heading Heading
| Enables heading style. |
 Bold Bold
| Displays text in bold. |
 Italic Italic
| Displays text in italic. |
 Underline Underline
| Underlines text. |
 Monospace Monospace
| Displays text in monospace font. |
 Bulleted list Bulleted list
| Adds bulleted list. |
 Numbered list Numbered list
| Adds numbered list. |

| Option | Description |
|---|---|
 Code toggle Code toggle
| Enables code mode (switches to code mode if you are in text mode). |
 Comment Comment
| Comments current line. |
 Uncomment Uncomment
| Uncomments current line (if commented). |
 Indent Indent
| Adds tab space to the start of the current line. |
 Unindent Unindent
| Removes tab space from start of current line. |

| Option | Description |
|---|---|
 Image Image
| Add an image. Learn more |
 Hyperlink Hyperlink
| Convert selected text to hyperlink. |
 Equation Equation
| Add LaTeX equation. Learn more |
 Attachments Attachments
| Add attachments. Learn more |
 Help Help
| Get help for Rich Text Editor (this page). |
Note:
The Rich Text Editor is a MATLAB Live Editor component for creating live scripts but with limited functionalities. Learn more about the MATLAB Live Editor formatting.
Keyboard Shortcuts:
| Formatting Style | Autoformatting Sequence | Keyboard Shortcut |
|---|---|---|
| Text/code toggle | - | Ctrl+E (⌥Enter) |
| Normal Text | - | Ctrl+Alt+T (⌃⌥T) |
| Heading | ## text + Enter | Ctrl+Alt+H (⌃⌥H) |
| Bold | **text** __text__ |
Ctrl+B (⌘B) |
| Italic | *text* _text_ |
Ctrl+I (⌘I) |
| Bold and italic | ***text*** ___text___ |
Ctrl+B, then Ctrl+I (⌘B, then ⌘I) |
| Underline | - | Ctrl+U (⌘U) |
| Monospace | `text` |text| |
Ctrl+M (⌃M) |
| Bulleted list | * text - text + text |
Ctrl+Alt+U (⌃⌥U) |
| Numbered list | number. text | Ctrl+Alt+O (⌃⌥O) |
| Comment | - | Ctrl+R (⌘/) |
| Indent | - | Ctrl+] (⌘]) Tab |
| Unindent/Outdent | - | Ctrl+[ (⌘[) |
| Hyperlink | URL+Space or Enter <URL> [Label](URL) |
Ctrl+K (⌘K) |
| LaTeX equation | $LaTeX$ | Ctrl+Alt+G (⌘⌥G) |
| Inline equations | - | Ctrl+Shift+E (⌘⇧E) |
| Trademark, service mark, and copyright symbols (™, ℠, ®, and ©) | (TM) (SM) (R) (C) |
- |
Links
- Click
 on the editor toolbar
 - Enter link text and target URL in the popup dialog box.
- Click OK to add link.
Images
- Click
 on the editor toolbar.
 - Select whether you are uploading from your computer or the Web. Image files must be 15 MB or smaller.
- If uploading from your computer, click Choose File to browse and select a file.
- If uploading from the Web, enter the URL.
- When inserting an image, you can specify the following parameters:
- Alt text – Specifies an alternate text for an image, if the image cannot be displayed.
- Size – Scales the image to specified percentage.
- Alignment – Aligns the image with the text according to the value selected.
- Click OK to insert the image.
Attachments
From the Toolbar
- Click
 on the editor toolbar.
 - Click Open to attach the file.
Drag and Drop
- Select one or more files and drag them to the editor.
- When the editor turns gray, release the file(s).
All attachments must meet the following requirements:
- Files must be 5 MB or smaller.
- Attachments must be one of the following formats: bmp, csv, fig, gif, jpg, jpeg, m, mat, mdl, mlx, slx, pdf, png, txt, xls, xlsx, zip.
- You can upload a maximum of 10 attachments in a 24-hour period. If you need to upload an additional file during this period, delete an existing attachment and upload the new file.
