Control Real-Time Application by Using C# Code
This example shows how to develop a C# program that controls a Simulink® Real-Time™ application by using the functions from the Simulink Real-Time XIL API support package. The C# example code shows how to use the XIL C# API calls to load, run, and stop a Simulink Real-Time application. The example code also shows how to record signal data.
Prepare for API in C# Program
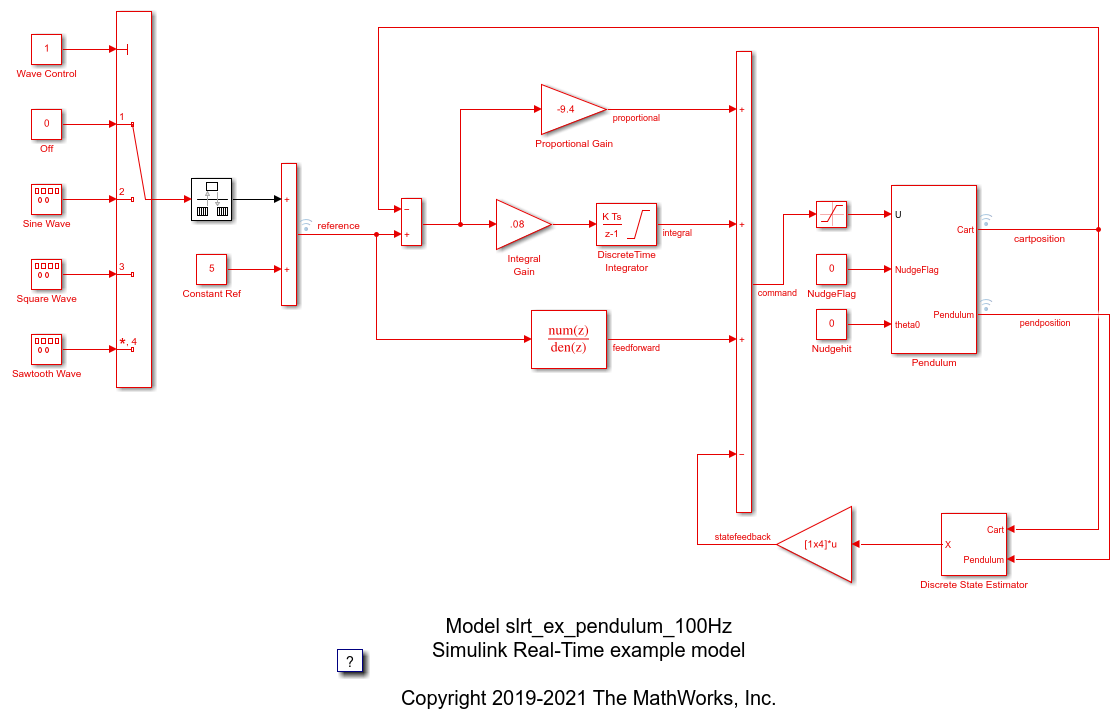
1. Install the Simulink Real-Time Support Package for ASAM® XIL Standard by using the Add On Explorer.
2. Create Target Object and Connect. Create a Target object for the default target computer and connect to the target computer.
tg = slrealtime;
connect(tg);
3. Copy model slrt_ex_pendulum_100Hz to your working folder.
model = 'slrt_ex_pendulum_100Hz';
open_system(model);
modelSTF = getSTFName(tg);
set_param(model,"SystemTargetFile",modelSTF);

4. Build model slrt_ex_pendulum_100Hz.
evalc('slbuild(model)');
5. Create an XIL configuration file. This command uses the default Speedgoat® target machine IP address 192.168.7.5. Replace full_file_path_to_MLDATX with the full file path to the slrt_ex_pendulum_100Hz.mldatx file.
slrealtime.createPortConfigureFile("configFile.xml","192.168.7.5",'full_file_path_to_MLDATX');
Create C# Program
1. Open Visual Studio® 2019 and create a project for Console App (.NET core).
2. As project references in visual studio, add ASAM.XIL.Implementation.Testbench.dll, ASAM.XIL.interfaces.dll, and MathWorks.ASAM.XIL.Server.dll. These files are available after you install the support package.
Find ASAM.XIL.Implementation.Testbench.dll and ASAM.XIL.Interfaces.dll in folder C:\Program Files (x86)\ASAM e.V\ASAM AE XIL API Standard Assemblies 2.1.0\bin.
Find MathWorks.ASAM.XIL.Server.dll in folder C:\ProgramData\MATLAB\SupportPackages\<release>\toolbox\slrealtime\xil\src\bin\win64.
3. Copy the example C# program myRealTimeAppController.cs content to your current Visual Studio project. Update the project.
To find file myRealTimeAppController.cs, open this example and view the example folder.
4. Build the solution in your Visual Studio project.
Run the C# Program
1. Run your application at the operating system command prompt. Enter:
appName configFilePath csvFilePath
The parts of this command are:
Application name
Full file path to your configuration file
Full file path of a CSV file in which the solution is saved
When you run the application, it loads and runs the Simulink Real-Time application slrt_ex_pendulum_100Hz.mldatx on the target computer. While running, the signal data for the signals slrt_ex_pendulum_100Hz/Pendulum:1 and slrt_ex_pendulum_100Hz:2 are recorded for about 3 seconds. The data is saved into the CSV file that you selected. When done, the application stops on the target computer.
2. Check signal data saved in the CSV file.
About Multiple MATLAB Installations
If you have multiple versions of MATLAB® installed, the default operation of the operating system when you run your C# program is to open the first MATLAB executable that is defined on the system path. By default, this version is the latest version of MATLAB installed. To optionally select a different MATLAB version:
Open the path environment variable and ensure that the selected MATLAB version to use as COM automation server appears at the top or before other MATLAB paths installed in the system.
Manually set the current MATLAB instance as COM automation server. See
regmatlabserver.
bdclose(model);